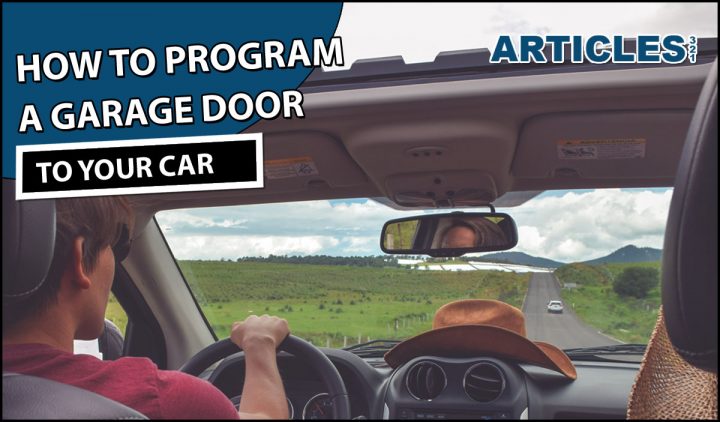
How To Program Garage Door To Car
If you’re searching for instruction on “how to program garage door to car” you’ve likely either bought a new vehicle or you have installed a new garage door opener. A lot of homeowners have vehicles that feature a garage door Homelink system that allows operation of the garage door without needing a clunky remote in the vehicle. Car owner manuals typically give specific instructions for each vehicle, but you should be able to do it with some simple instructions and about 10 minutes. If you’ve got someone helping you it will go faster and more smoothly.
Steps To Program Garage Door To Car
First off to program your door you will be operating it. Ensure all objects, people, and pets are clear of the door while you’re programming it. Once you’re sure that no one will be hurt or no property will be damaged you can proceed.
Step 1 – Fresh Remote Batteries
To ensure a smooth and successful programing make sure your hand-held remote has new batteries. If you can’t remember the ever installing new batteries in, it’s definitely time.
Step 2 – Turn Car On
You don’t need to start the motor in most models but you should turn the key to “ACC” or accessories. This will send power to the buttons associated with operating your garage door opening the HomeLink system.
Step 3 – Set Car In Learn Mode
To start the process of programming the car with the garage door opener signal hold the two outer buttons until the indicator lights in the vehicle flash. This is the sign that your vehicle is set into the signal to learn mode.
Step 4 – Set Car Garage Door Button
Hold down the button you want to program for the garage door until the light starts to flash slowly. In most models, this takes about 30 seconds. Continue to hold the button down for the following step.
Step 5 – Teach Car Signal With Remote
You teach your car the signal your garage door opener needs by holding the button down and pointing it at the flashing light in your vehicle. It should be no more than 2 inches away. You’ll know the car has learned the signal when the indicator light begins to flash faster. Once this happens you can let go of both the button on your car and your remote.
Step 6 – Verify The Opener Is Programmed
This is the step where having someone helping you is handy. They’ll need to stand on a ladder and look for the learn or smart button. It’s not always labeled but there is typically an indicator light next to it. If you press the button and it stays on, your car garage door button should work. If it flashes or flashes and then stays on you’ll need to move on to step 7.
Step 7 – Final Car Sync with Garage Door
Some models of openers or cars will need this last step, and you’ve only got 30 seconds to do it from step 6. With the vehicle still in the accessory, mode press the button you’ve chosen for this garage door for 3 seconds. Let go of the button and try it again for 3 seconds. Do this until the garage door reacts to the vehicle’s signal and you’re done.
Troubleshooting Car Garage Door Control
If you’re still having trouble you may try to unplug your receiver for a while and give this process another try. Ensure the battery in your remote is fresh and installed the right way. If that doesn’t work your garage door opener might be damaged and need to be repaired or replaced.